A step by step guide on how to prune your kangaroo paw
-
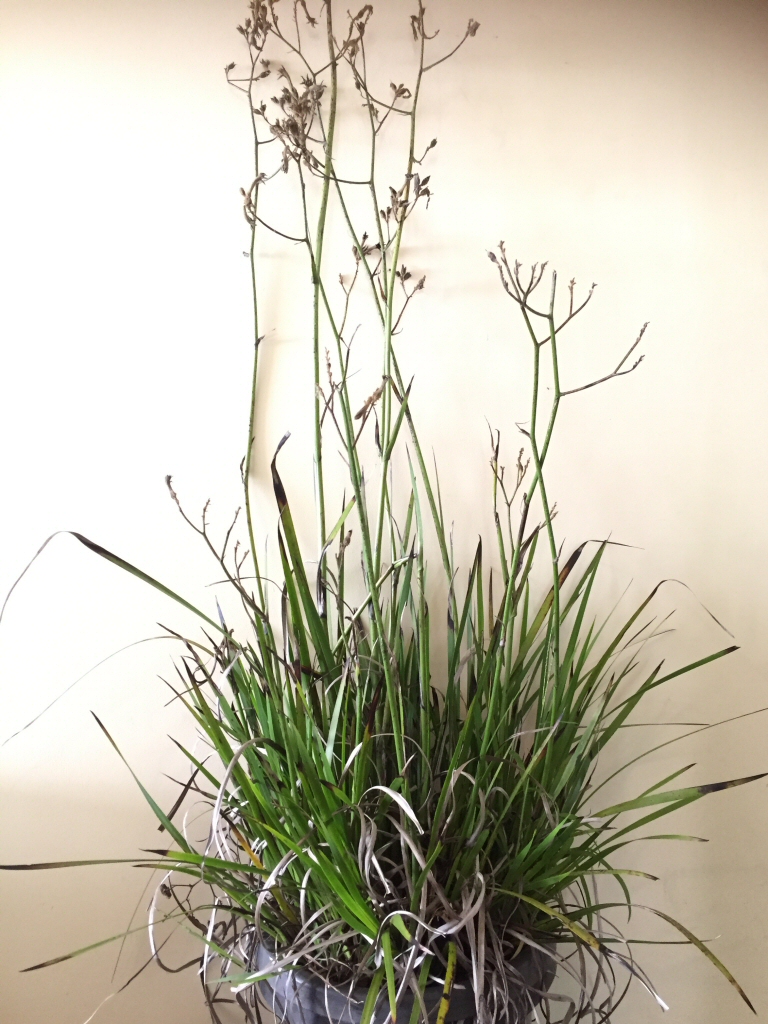
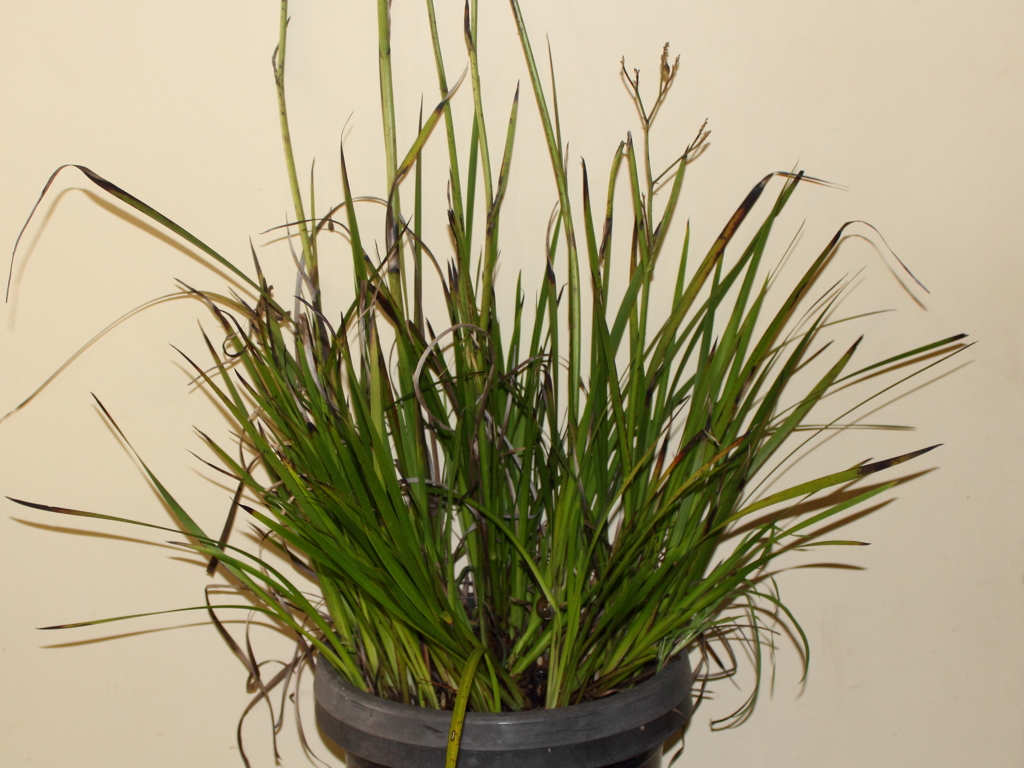
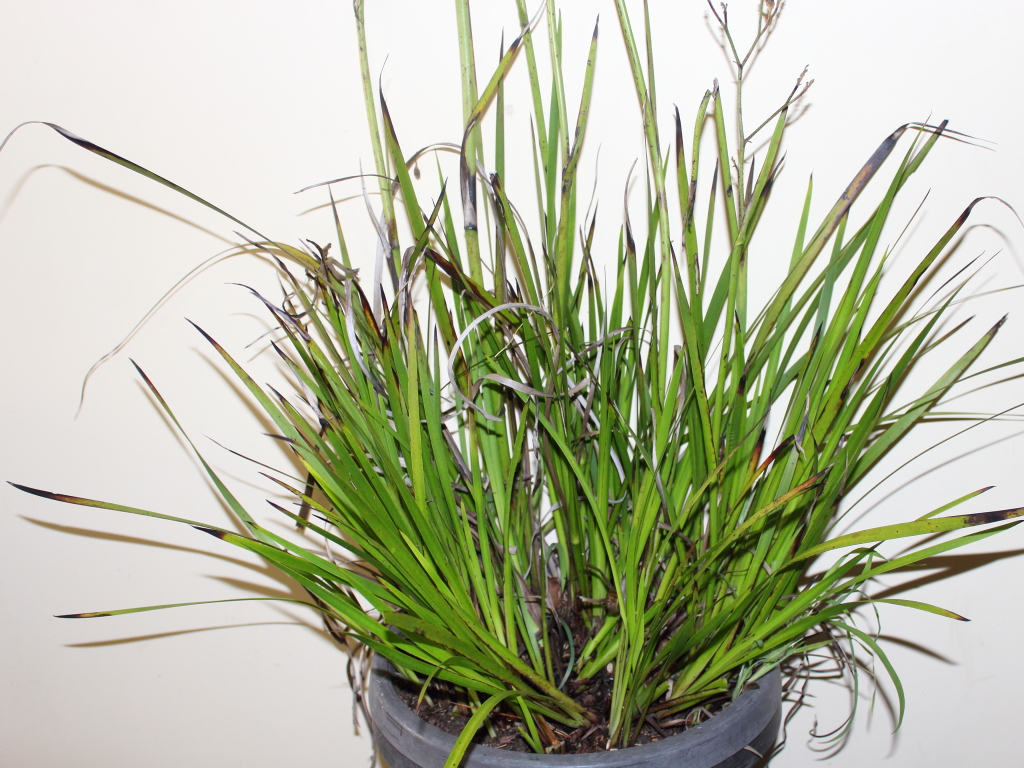
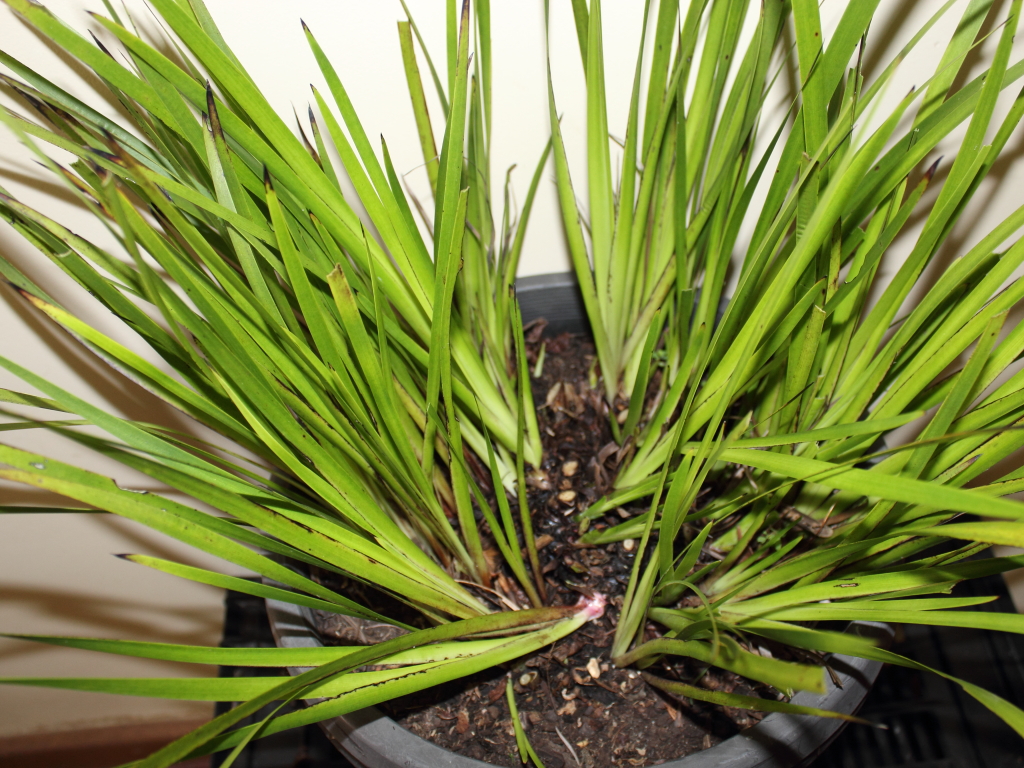
Before
-
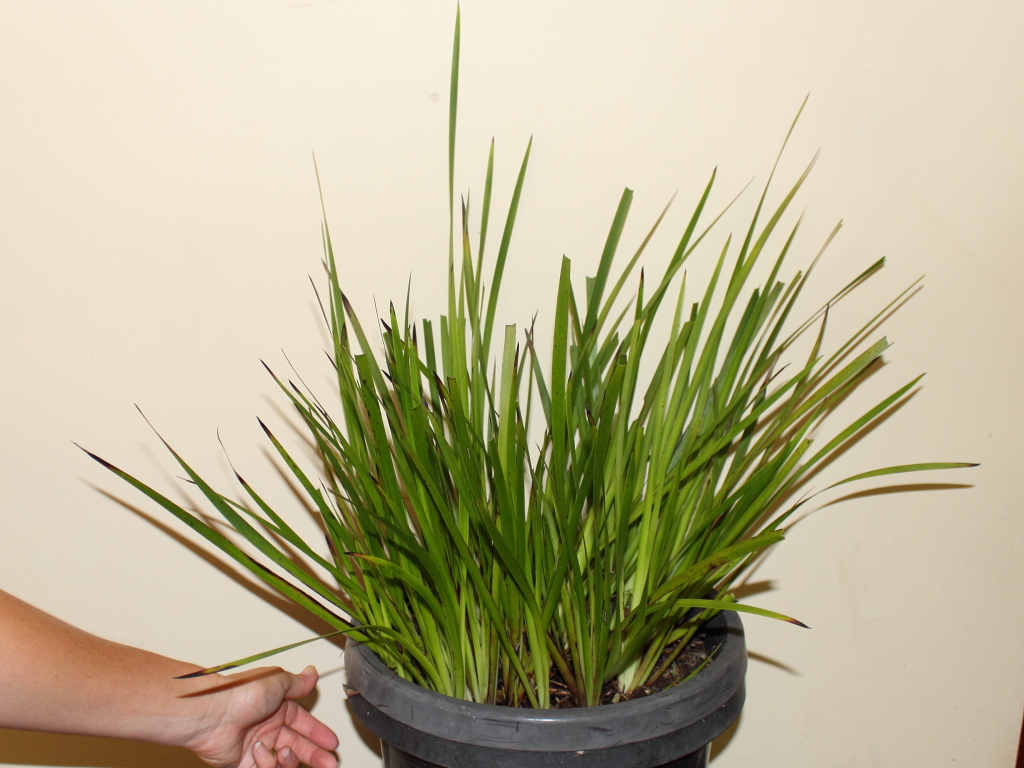
After!
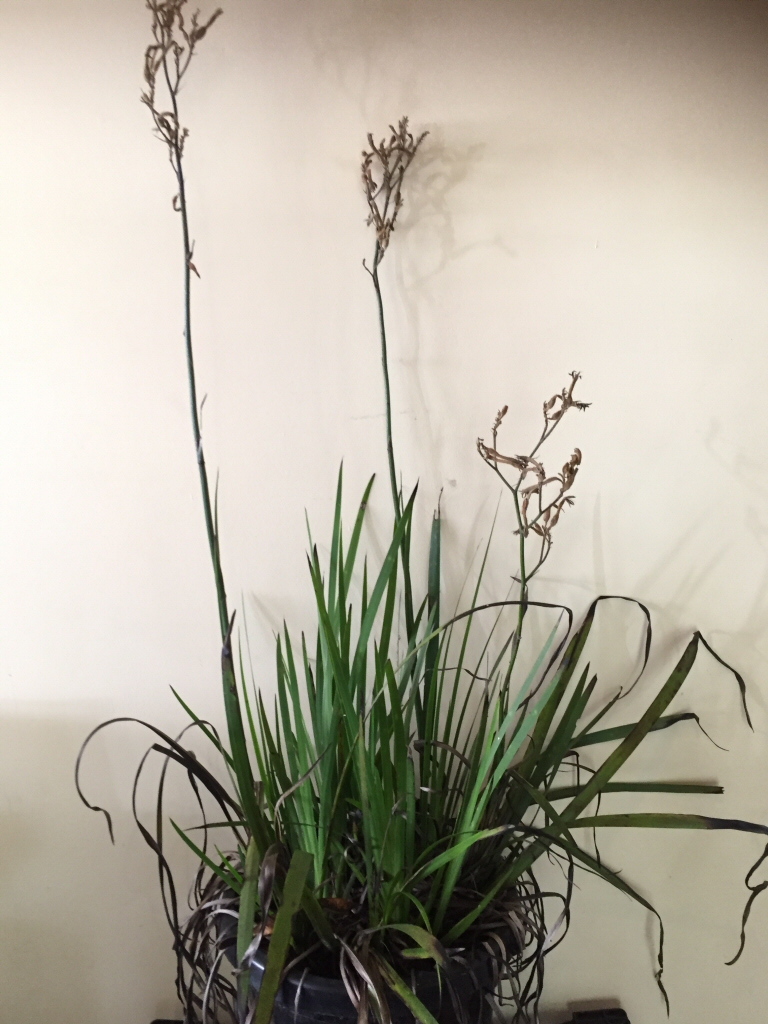
Kangaroo paws are very giving plants when they flower, but flowering comes at a cost to the plant in energy. So once the flowers die back, a plant can look sick or half dead, when in fact it is just full of dead stems and browned off foliage. So, rather than call the plant ambulance out to your paw that is doing poorly, we’ll give it some home doctoring instead.
Cutting a kangaroo paw back gives new shoots room and incentive to grow, so is well worth spending time on it. The thing to remember about growing kangaroo paws is that once a leaf fan has produced a flower and that flower dies off, it will not continue growing and will not produce another one….new growth for the next flowering comes from the next crop of new leaf fans that are produced from the underground rhizome. If the old dead flowers and old leaf fans are left on, the plant will tend to sit idle and not produce as many new shoots- cutting out the old finished bits seems to stimulate new life. Once you know this, you know what to aim for when cutting back your kangaroo paw. And all that new growth needs feeding, too. Kangaroo paws can be fed any good plant food. It doesn’t need to be low phosphorous. Just be sure to water afterwards to avoid root or rhizome burn.
There are two ways to reinvigorate a kangaroo paw that looks shabby….I will show you the quick and dirty way, great for time poor people or when you have had a bad day and want to hack something, and then I’ll show you the slow and careful way. The quick way is best for the taller paws, I advise only using the slow and careful way for the smaller growing kangaroo paw varieties.
The Quick Way To Fix Old Kangaroo Paws
If you are short on time, it is fine to use this quick method to renovate the taller varieties of kangaroo paw. The smaller dwarf varieties generally need the slow and careful procedure which follows this quick method.
Provided the plant is well established, and you don’t get severe frost before you get a chance to cover the cut plant, it should resprout with fresh green shoots. It can take a few weeks for this to happen, so don’t despair if you think you have killed it….it can take time. So, let’s begin. Take your secateurs, whipper snipper or lawn mower (on a high setting, you don’t want to cut into the rhizome), and cut cut cut!
-
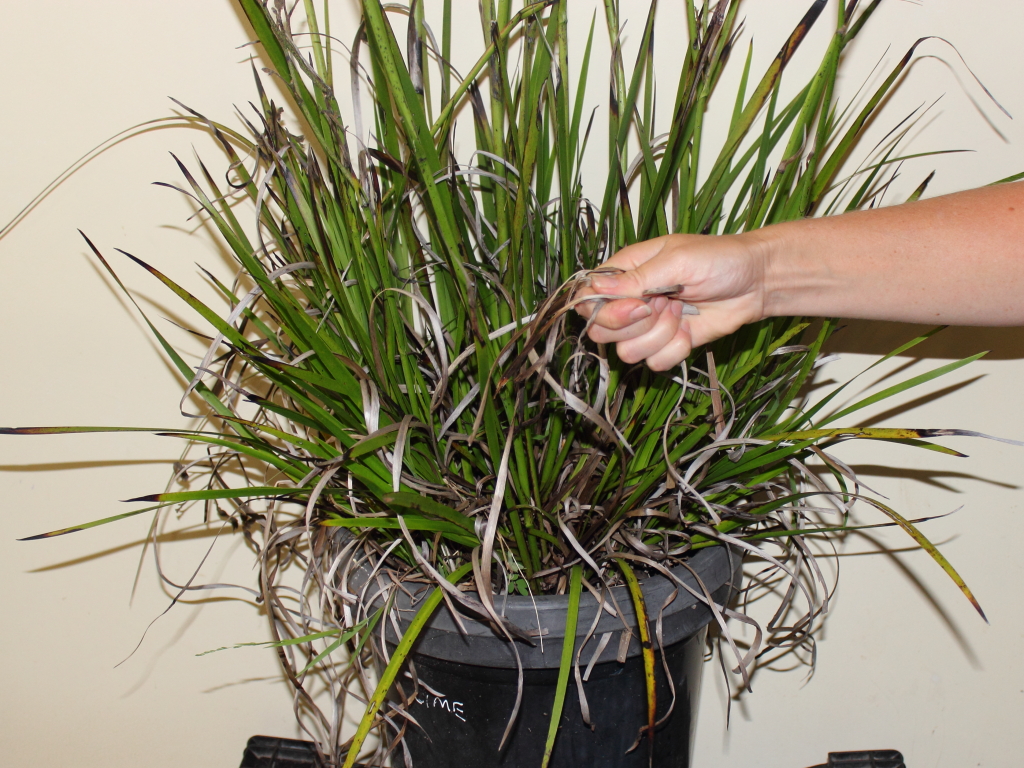
Shabby looking kangaroo paw
Hmmmm. Time to get stuck in!
-
Where to cut your kangaroo paw
-

After the cut
-
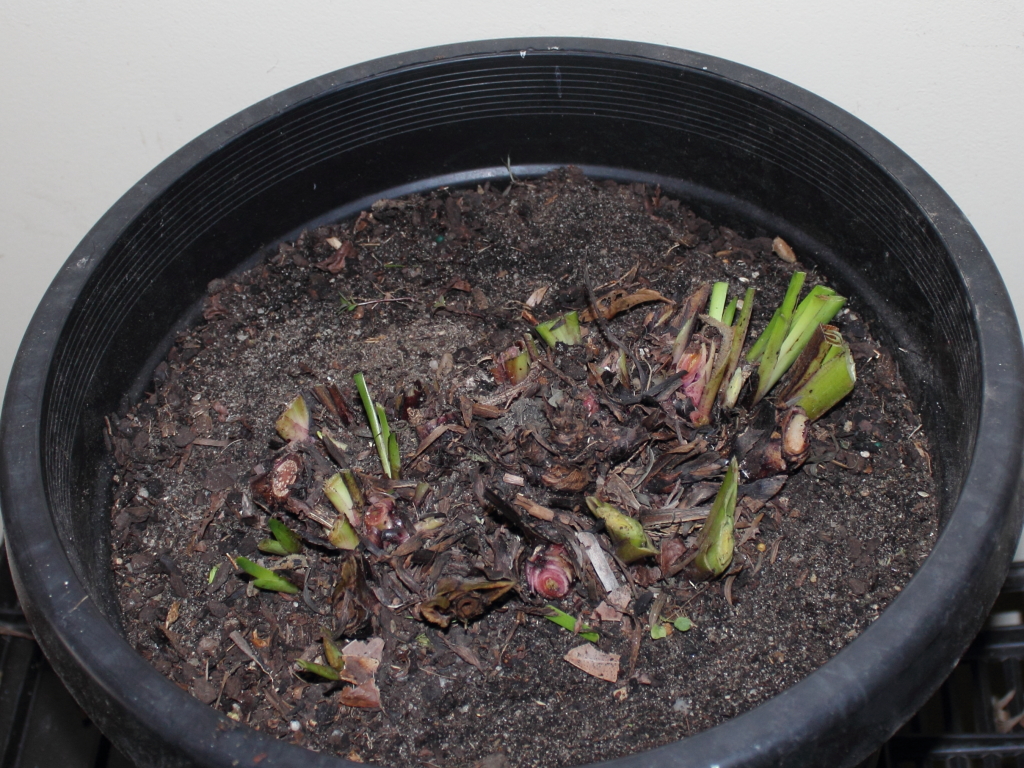
Cut right back
Now that was fast. And easy! If you look closely, you can see that there are some fresh new shoots already pushing their way through which I was careful to leave. Now they have all the room in the world to grow. It is best to have given your plant/s a light feed a couple of weeks before cutting back, so the plant has time to take in a bit of energy reserve to give you a new flush of growth. It is also best to cut them back in late summer to the start of autumn, before any chance of frost. If it may get frosty, then some hay placed around the rhizome to protect it is advisable.
-
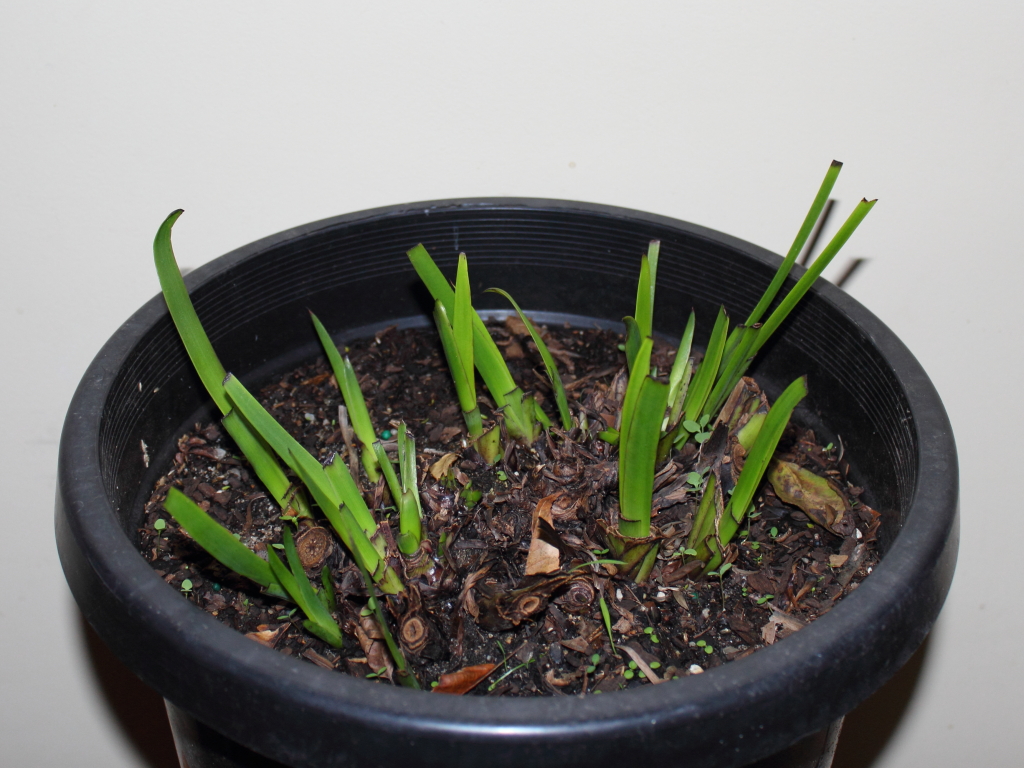
One week later
-
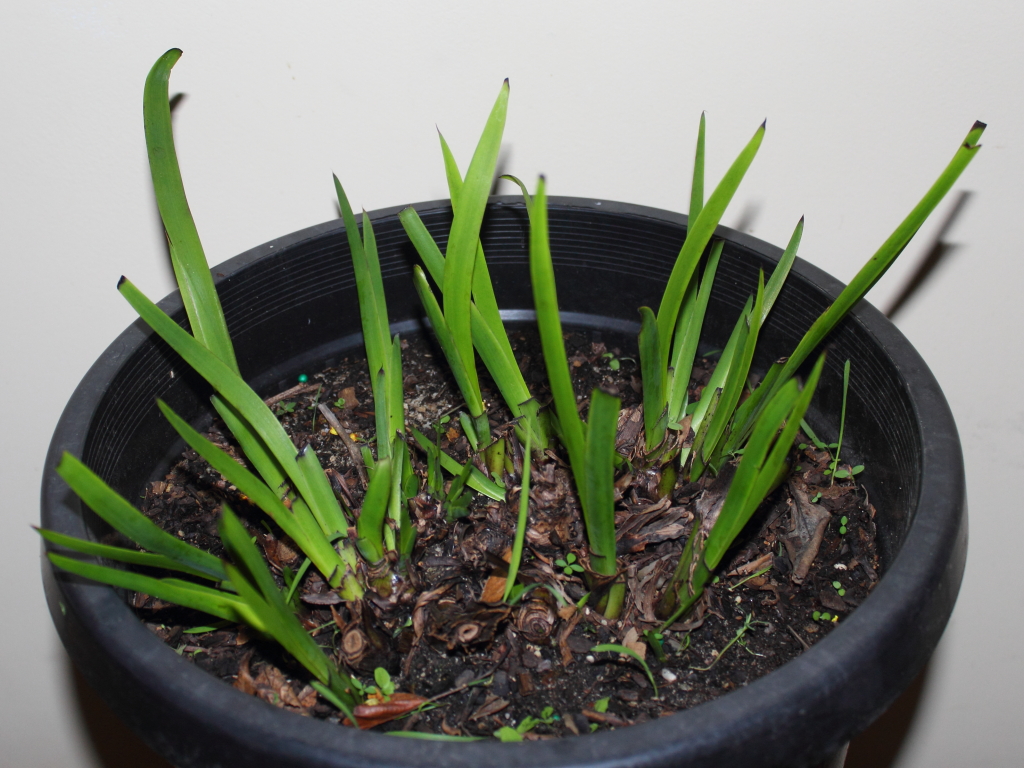
Two weeks later
First picture shows a week after cutting back, the second picture is two weeks later. The plant was fertilised and watered after cutting back, and watered every few days as the weather was sunny.
The Slower And More Careful Way To Cut Back Kangaroo Paws
This method takes more time than the previous one that cuts back everything, but does leave a more presentable plant at the end. The plan of attack is to slowly work your way through all the leaf fans that contain dead flower stems, after first pulling off the dead old leaves. This is the best method to use for smaller varieties of kangaroo paw, which tend to have a less robust rhizome, so have less food stores to cope with the more drastic cut back technique.
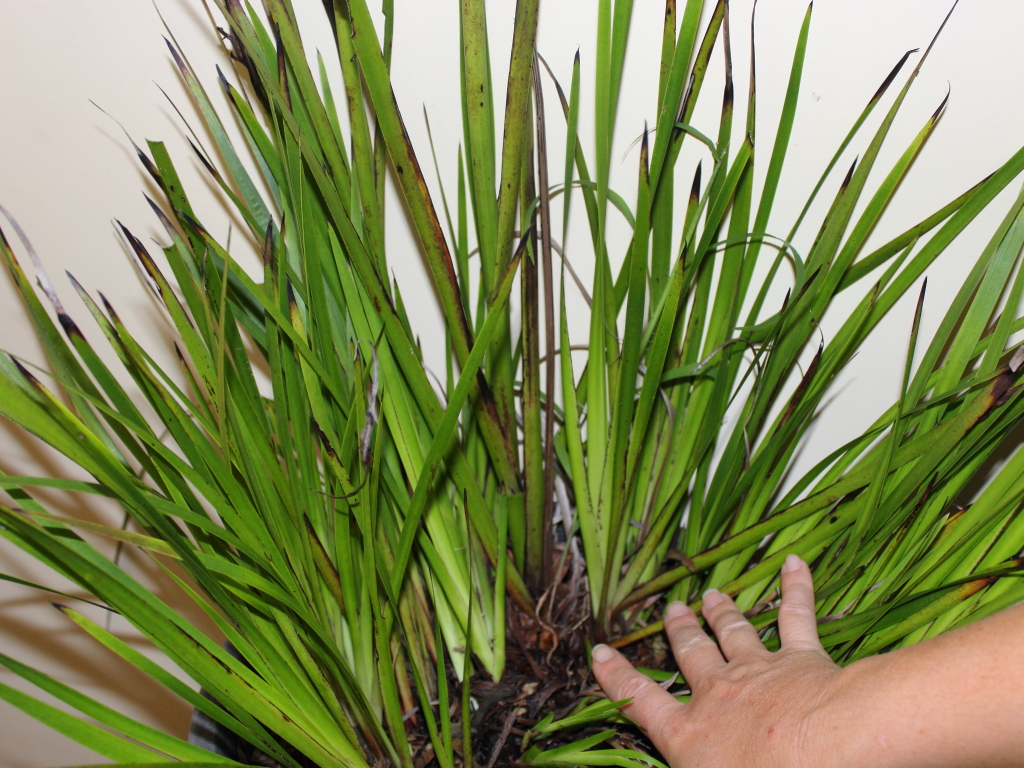
The first step is to pull away old leaves that are browning off, this gives you a better look into the plant to see where you need to cut back the old flower stem and the leaf fan that the stem came from. It is advisable to take the leaves off so that they come away from the base, this is done with a bit of a sideways pull.
-
Removing dead leaves
-
Dead leaves gone
-

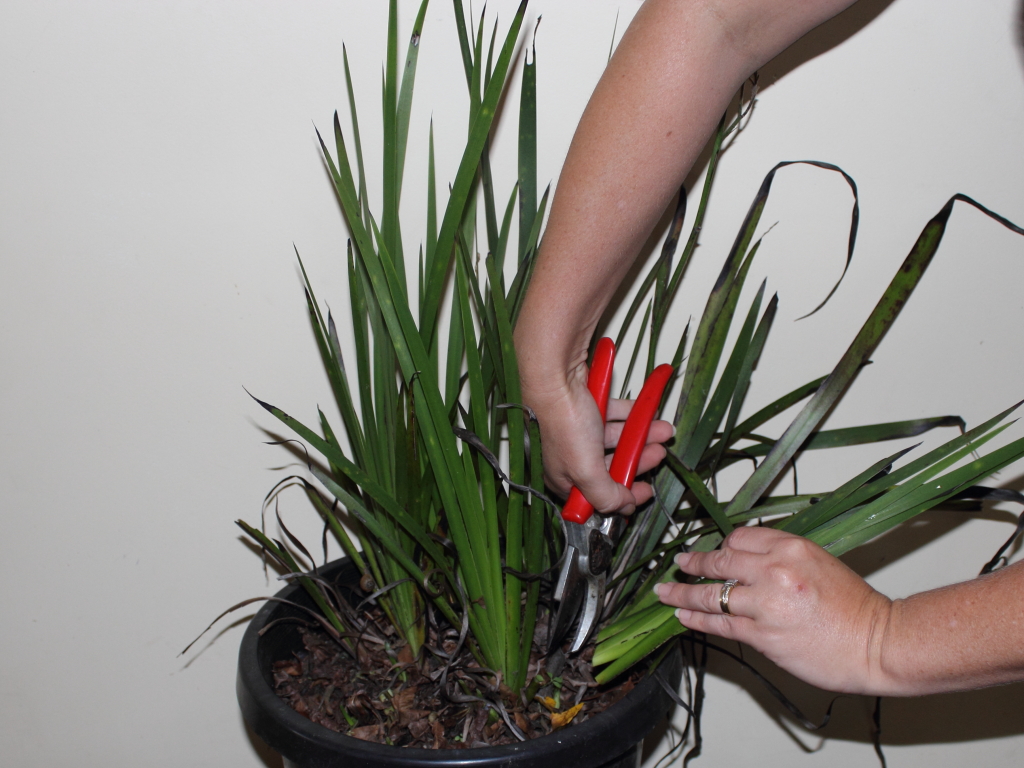
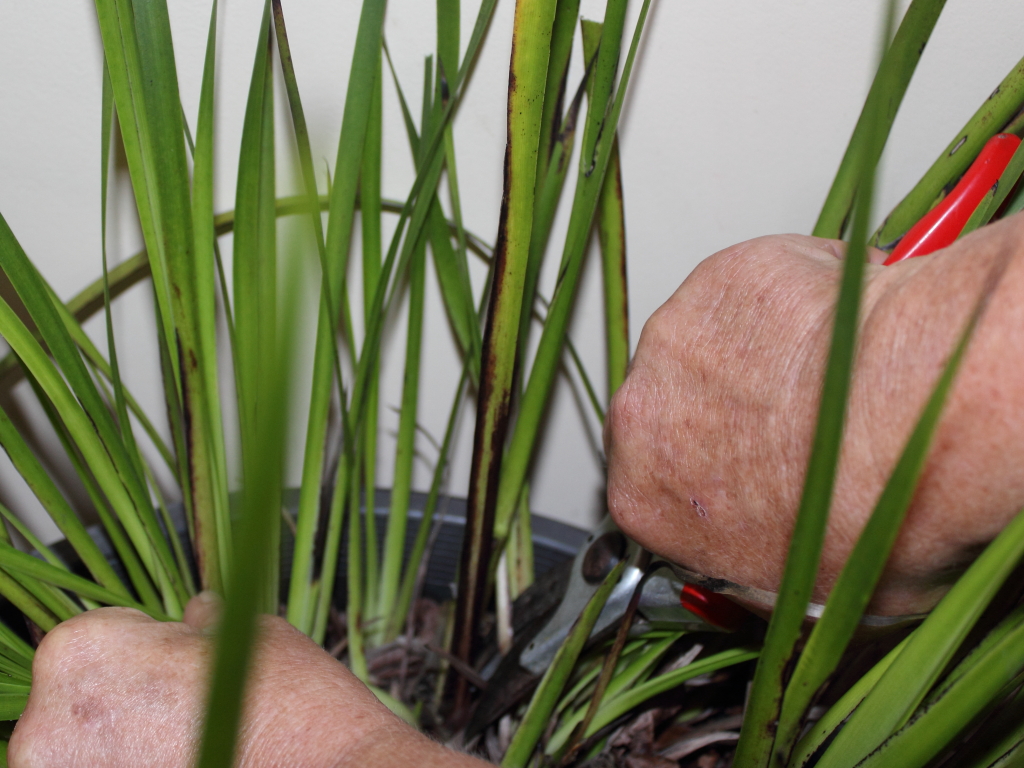
Cutting out old flower stems
Looking better already after the dead leaves are gone, so it is time to cut out all the old flowers. Push aside any fresh new foliage where needed to get into the base of the old stem. Cut low down, but not so far down that you cut into the rhizome.
-
Front half cut back
-
Getting into the centre
-
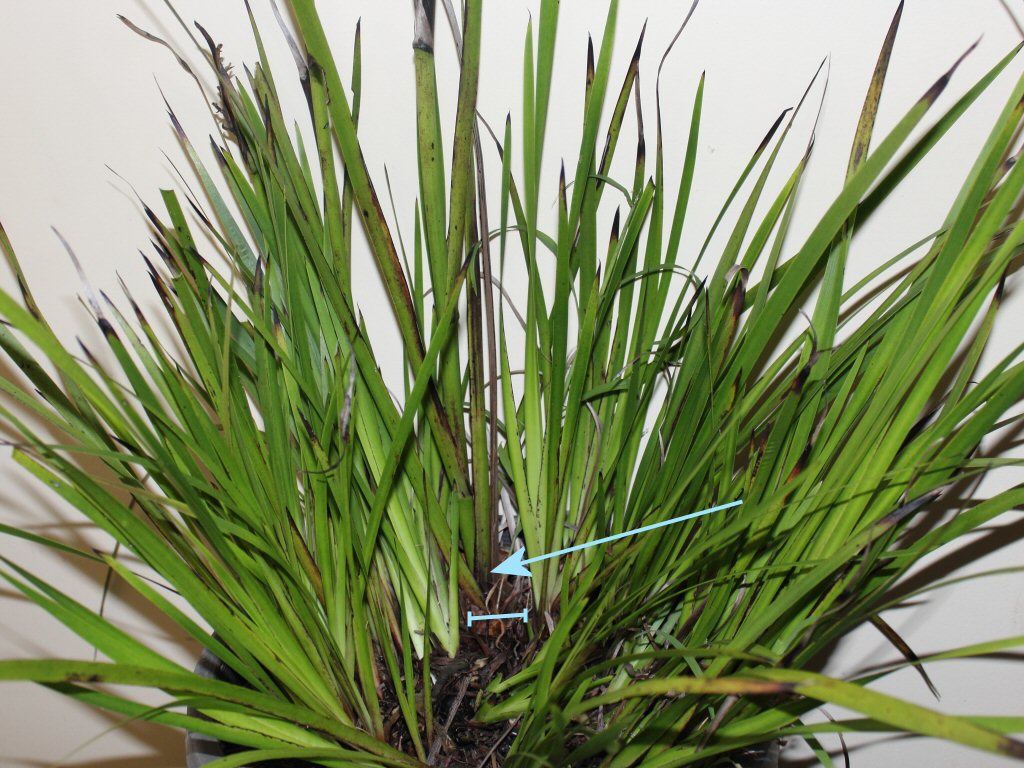
Where to cut
Don’t be daunted by the amount of stems. Just check through for the old leaf fans that have the dead flower stem in the middle, and cut the whole fan out near the base, one by one. Leave healthy fans that have not yet flowered, as they help feed the plant as it recovers. It took less than ten minutes to do this clean up.
-
Cutting the old fan
-
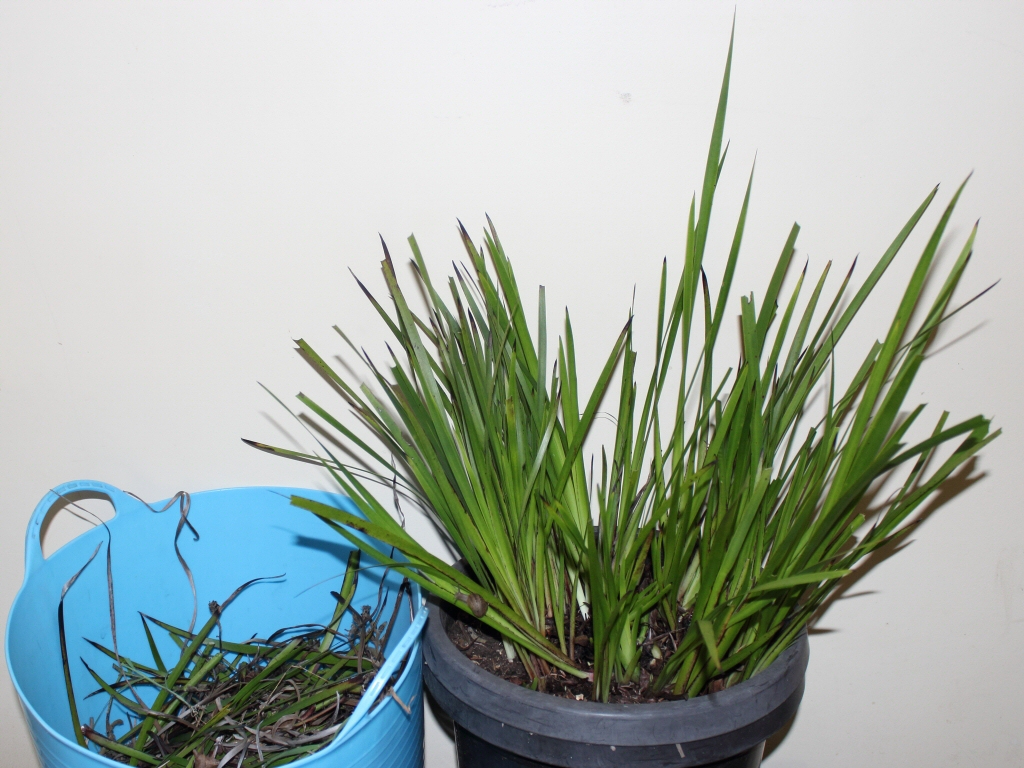
Old stems removed
-
After!
Now to fertilise and water the plants, and take all the old cut foliage to the compost bin or worm farm, and then stand back and admire your fresh new kangaroo paw.
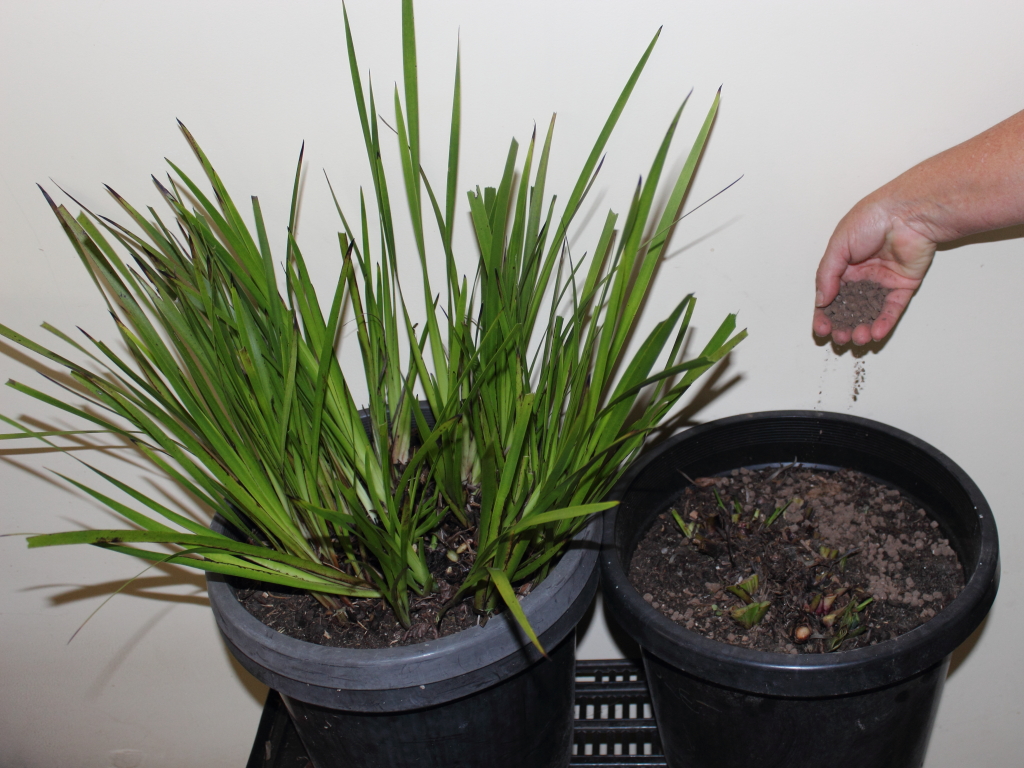
The pruning will help stimulate new growth from the rhizome. Once you get new growth happening, it is a good idea to feed the plant again, though if it is around frost time, hold back on feeding with high nitrogen formulations, as these will cause too much soft growth which is easily damaged. When you see (or feel) the new leaf fans start to thicken up, you know that your new flower stems are forming. Be sure to water regularly when you see this, as water stress can cause malformed flowers.
Head to your favourite nursery for a great range of kangaroo paws-
https://www.gardeningwithangus.com.au//category/nurseries/