In a bid to do my part in the War On Waste, I am very conscious about minimising the amount I throw in the bin or send to landfill. The idea of repurposing something that might otherwise end up wasted and then using it to stop biodegradable items heading there too is a wonderful concept to me. By composting we are returning nutrients back into the soil rather than locking them up in landfill. If you happen to be upgrading your bathtub, know someone that is wanting to get rid of one, or are lucky enough find a tub left out for council kerbside collection, then why not turn it into a composting system? This article will show you how to do it.
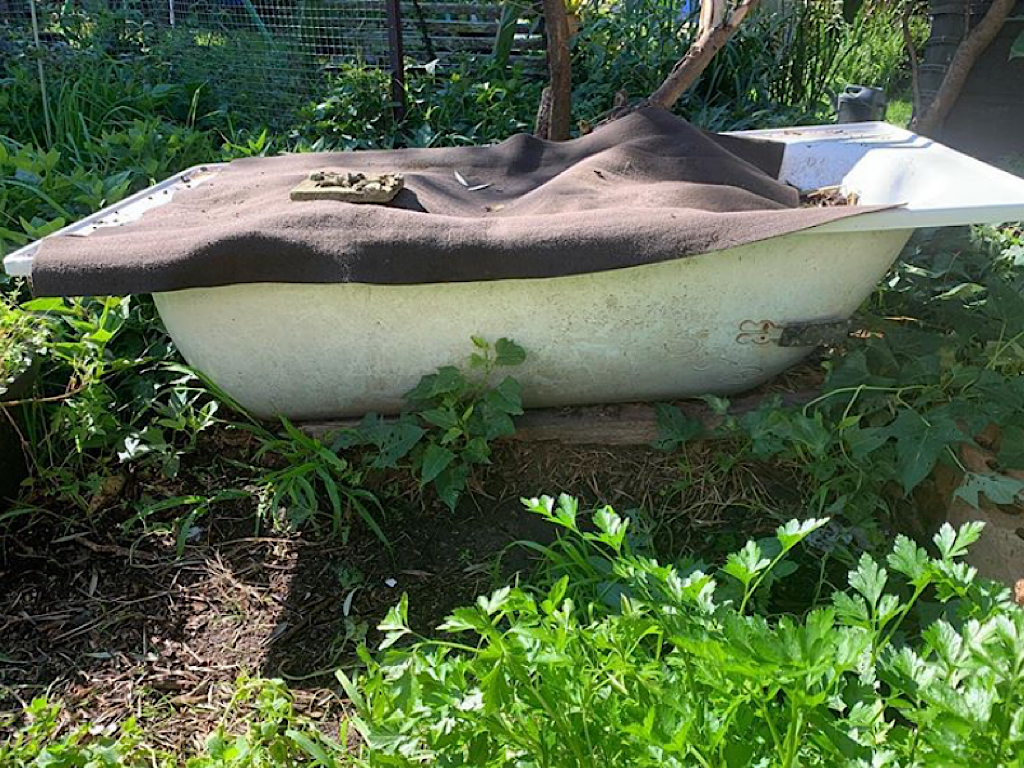
Once you have your tub and worked out where you want to put it in the garden, its important to find something to place it on, in order to elevate it off the ground. Compost units need good drainage and if your tub is sitting flat on the ground, the water entering it will be very slow to escape the drain outlet. Poor drainage in compost units can cause all kinds of problems from boggy sludge to bad smells and the composting process will be drastically slowed down and will turn anaerobic from the lack of oxygen. So you want to make sure the bath drainage outlet (where the plug normally goes) has a good amount of space under it. The liquid that comes from the compost is full of beneficial microbes and can be used as fertiliser. If you want to utilise this, then leave enough room under the plug hole for a bucket or container to catch and collect the liquid, which can then be diluted to the colour of weak tea and watered directly onto the plants you wish to feed. It’s also a good idea to prop the bath tub up a little higher at the other end, so that the liquid flows freely towards the drainage hole.
Now that you have the tub in place and elevated off the ground, add some bedding material such as ripped up corrugated cardboard, straw, hay, expanded coir or a combination of these things. The bedding material should be dampened down with a light watering, but not soaking wet. This layer of carbon rich material will give the worms a comfortable place to reside while they are getting established in their new surroundings. Once you have added bedding material, you can now add some worms. Composting worms can be bought, or transferred from existing worm farms. If you are lucky enough to have worm farming friends, you could ask them to kindly donate some to add to your tub. The amount you should add depends on how quickly you want the organic waste to be processed. If you add a small number (around 150-200 worms) to begin with, you will slowly build up the amount you feed them as their population grows. It will not take long for the worm population to build in an environment like a bath tub composter, if you keep the conditions ideal. If you have a larger amount of organic matter you want processed straight away, then you ideally should add more worms to start with, so they don’t get overwhelmed.
A bathtub composting system is best used to process items that rodents are not interested in. Things like household kitchen scraps are much too enticing and are best in a commercial composting/worm farm system, which are designed to keep these critters out. Compostable items such as coffee grounds, manure, cardboard, dried leaves are all perfect, as they are of little interest to rodents. You can then cover your tub and its contents with something that resembles a worm blanket. You may use large pieces of cardboard, an old cotton sheet, or some kind of felted material, as long as it is made from natural fibre, then the worms will be happy. It’s good to keep the cover/worm blanket damp to create a nice humid environment and give the worms the perfect place to lay their eggs.
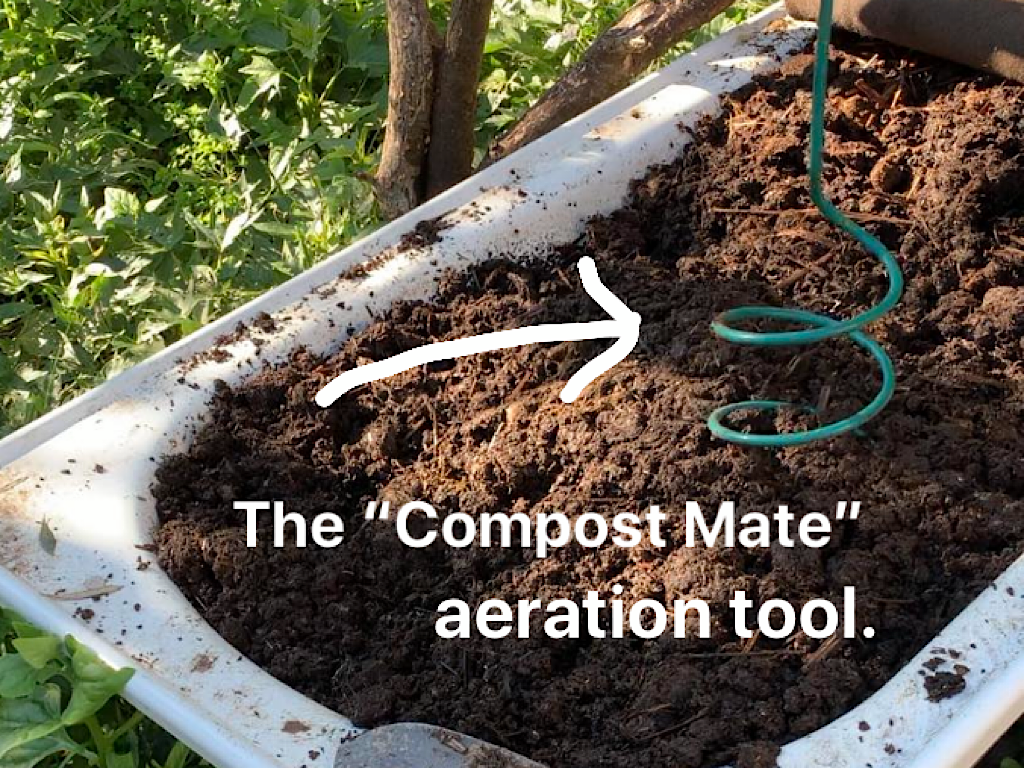
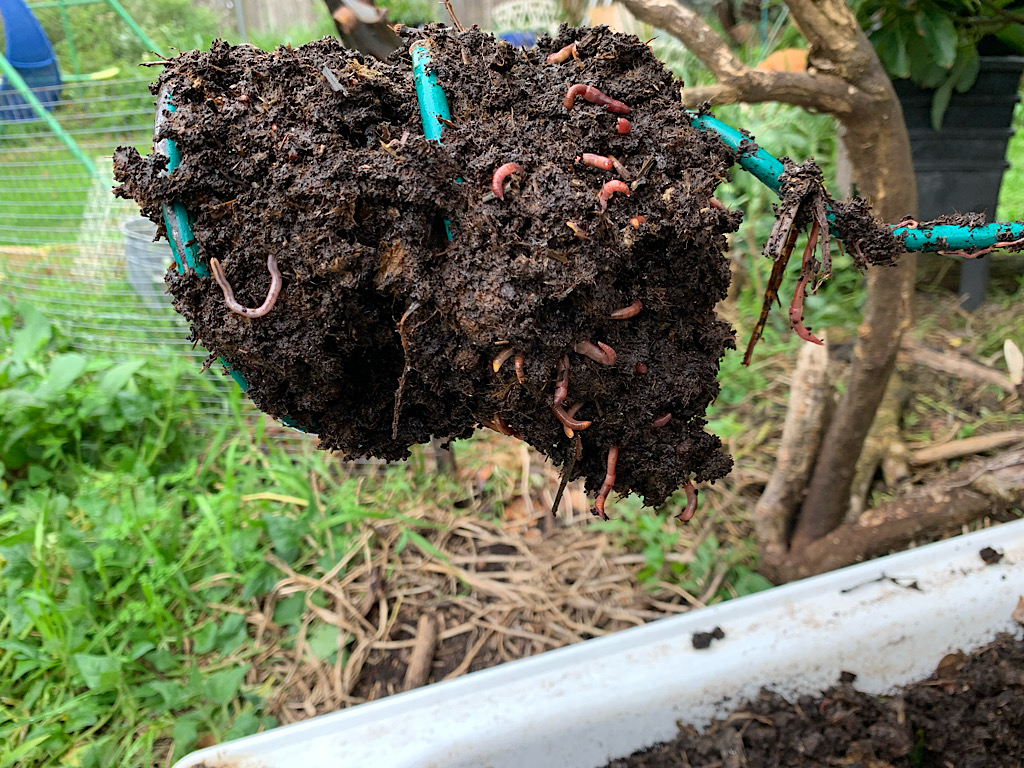
From time to time it’s a good idea to add some Worm Farm And Compost Conditioner or dolomite sprinkled though and mixed in to help balance out acidity, which worms dislike. It’s also beneficial to aerate your compost from time to time too. A tool called the “Compost Mate” from all Australian company Tumbleweed makes the aeration process quick, simple and easy. It also ensures no worms get harmed in the process of aeration, which can sometimes happen when using garden shovels and forks. You can use the Compost Mate to take a sample form deep down in your compost to see what’s going on well below the surface. This can also be a very efficient way to harvest worms to give to friends or add to another compost or worm farm unit.
It only takes a month or so to have rich compost, ready to use around the garden.