If you have a worm farm, you will have noticed the dark brown/black, rich humus material within it that gradually builds up. This organic matter is the worm poo/worm castings. It is what the worms turn your kitchen scraps into once they have processed it through their digestive systems, and what a magnificent substance it is! Worm castings are full of beneficial microbes and can be used in the garden to enrich the soil and fertilise your plants. The beauty of worm castings is that they are produced through a natural process. If you feed your worms a varied diet, the castings are well balanced and can be used on a wide variety of different plants.
You can sprinkle the worm castings directly around the plants you want to give a boost to, dig them in to the soil you are about to plant into, or you can use them to make your own potting mix. I will provide a future, separate article here on my website about how to make your own potting mix using the castings from your worm farm.
With all that said, I have often been asked for ways to get the castings out of the worm farm for use in the garden. There is no one set way, however in this article, I will share some methods that work well for me. When we extract worm castings from the farm, we want to do so without taking out too many (if any) worms from the farm. Composting worms are different to the Earthworms we find in garden soil. Composting worms in Australia are usually Tiger Worms or Red Wrigglers. These worms feed closer to the surface on concentrated piles of organic matter. The worms you find in your garden take organic matter deep into the soil and process it down underground. The worms you find in your garden generally don’t survive happily in an enclosed worm farm environment, just as composting worms don’t do well if put into the garden. So, it’s best we keep all our little scrap disposal buddies in the worm farm, where they can be happy and can continue to process our kitchen scraps and organic matter!
Method One:
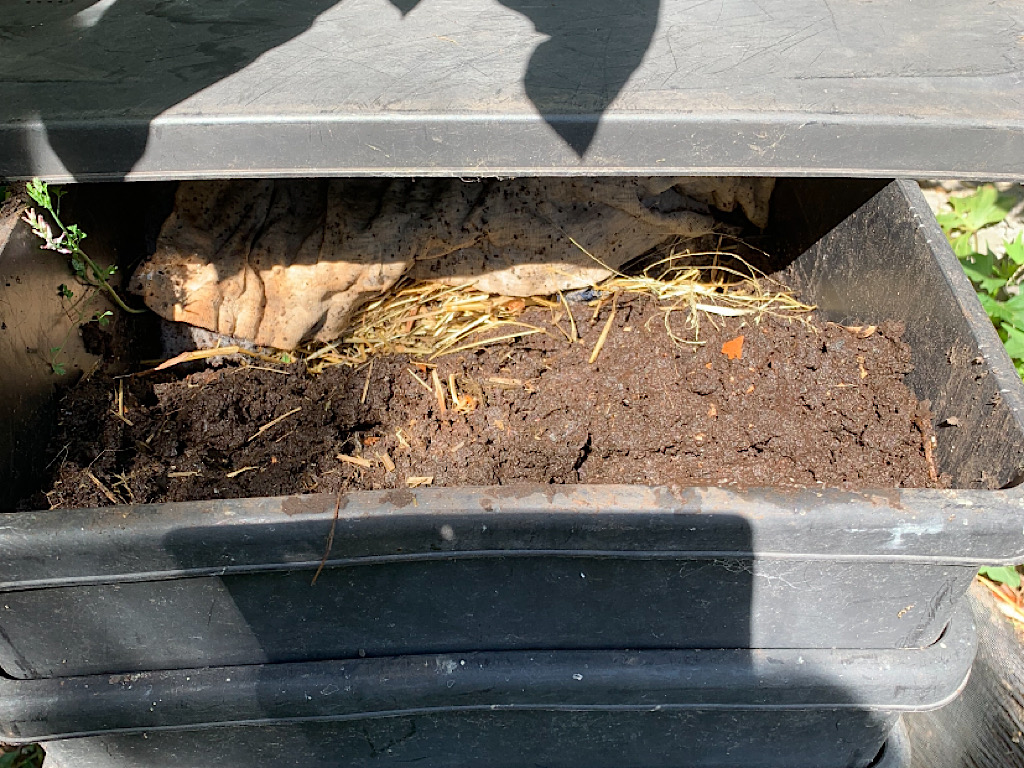
This method is for commercial worm farms that have multiple levels, like the Tumbleweed Can ’O’ Worms or their Worm Café. To learn more about multi level worm farms click here >>>> Once your middle or bottom layer has developed a good amount of castings in it, swap it with the top one (where you put your fresh kitchen scraps). Mound the castings to one side of the tray. Place the lid of your worm farm so that it leaves the mound of castings exposed to the sun/light and shades the non mounded part of the tray. Worms do not like light or direct sun, so in theory, they will want to vacate the mound of castings sitting in the sun and head to the cool, shaded part of the worm farm. Using two hands (if you don’t like getting your hands dirty, wear gloves) gather castings from the mound and place them in a bucket. Use your fingers to sift through the castings as it is likely there will still be stray worms in there. If you come across any worms, just pop them back in the farm. You might also come across some stray fruit stickers. Remove these from your worm farm and bin them. Harvesting worm castings is a great chance to get these out and any other non organic matter that might have found its way into your farm.
Method Two:
Another method for the multi level worm farms. Once your middle layer has castings in it, swap it with the top one (where you put your kitchen scraps). Gently push all the castings to one side of the tray. Once the castings are mounded to one side of the tray, put a good amount of appetising scraps to the bare side of the tray. Use foods that you have observed to be your worms “favourites.” When using this method of harvesting castings, I use organic matter such as manure mixed with old straw, avocado and pineapple. The idea is to entice the worms out of the castings and over to the food. This method of harvesting worm castings is good for those who do not need to use their castings immediately. I have found it takes a few days for the worms to migrate out of the castings towards the scraps. However, once they do, it is a very simple and effective way of being able to extract castings without coming across too many stray worms.
Method Three:
This method can be used with any type of worm farm, but I will demonstrate using Tumbleweed farm. The idea behind this method is to build mounds of worm castings. The worms will want to move away from light and exposure (which can cause them to dry out) by burrowing down into the bottom of the mounds where the castings are thicker and where they get more protection.
Take off the top layer of the worm farm (where the scraps go), exposing one of the middle layers that has castings ready for harvest. You will most likely see a worms wriggling about in the castings. You can use the lid of your worm farm to build the mounds on, or alternatively, you could build the mounds in the castings tray itself. It all depends if you want the worms in your castings to be returned to the farm they came from, or to be used in a different farm. If you want to seperate the worms for use in a different farm, or to gift to a friend, build your mounds on the lid. If you want to return the worms to the farm they come from, build your mound in the castings tray.

Once you have your castings tray ready, put on some gloves and begin to build some mounds (like the ones pictured here) using the castings. You can channel the inner sculptor as you create the mounds! It is actually quite satisfying watching the exposed worms wriggle deep into the castings. Once you are happy with your artistic work, leave the mounds for about ten minutes to allow the worms time to burrow as deep as they can. I would not recommend doing this in direct sunlight as you don’t want the mounds drying out too much. We certainly don’t want any harm to come to our little heat and light sensitive friends from direct sun, so it’s best to carry out this method of casting harvest in dappled light, or the shade. After 10 minutes, you can begin harvesting castings. Start taking castings from the tops of the mounds and work your way down. If you see any stray worms, you can either stop harvesting and wait for them to burrow deeper, or pick them out and return them to the worm farm. As you work your way down by removing castings, any worms that have not burrowed to the bottom of the mound, will quickly burrow downwards away from the light. Continued to harvest castings until the castings are no longer mounded. You will be left with something that resembles a flat “mess” of castings and you will most likely see worms trying to flee away from the open-ness that has been created. Piled the remaining castings and worms into one final mound. Leave this for another ten minutes and then come back to harvest the castings. Start from the top of the mound and work your way down to the bottom. Once again, you shouldn’t find many worms until you reach the bottom few centimetres of the mound. At this point, you will most likely be left with a ball of worms and a small amount of castings. You should have a pot/container full of worm free castings, ready for use in the garden!
Method Four:
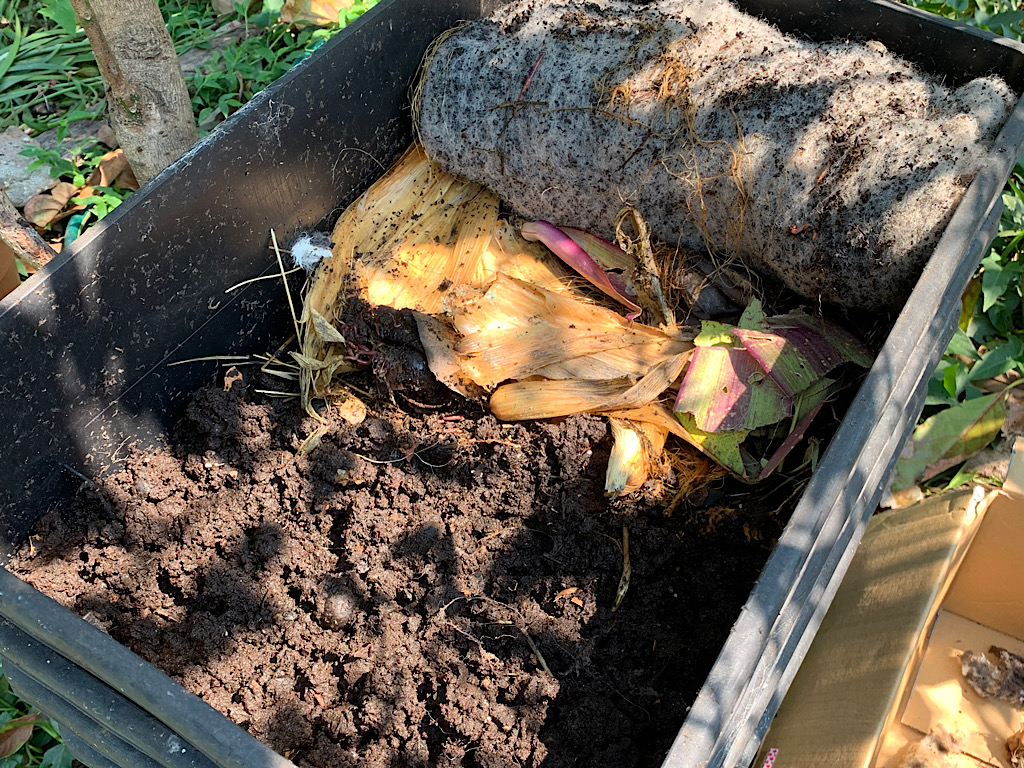
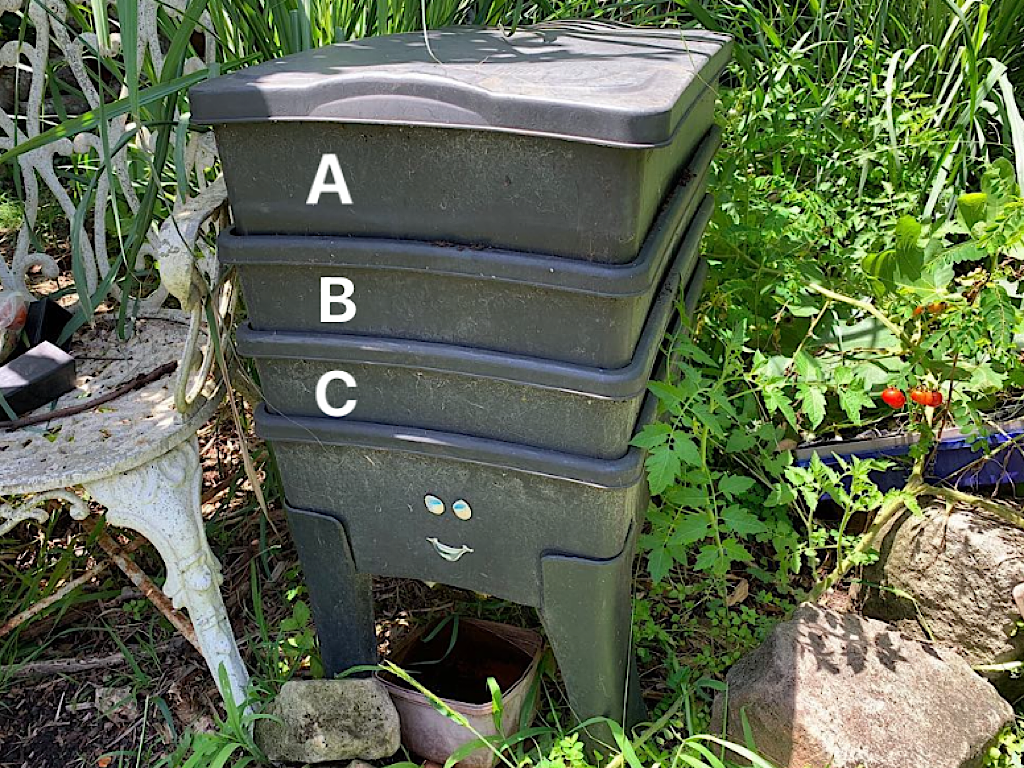
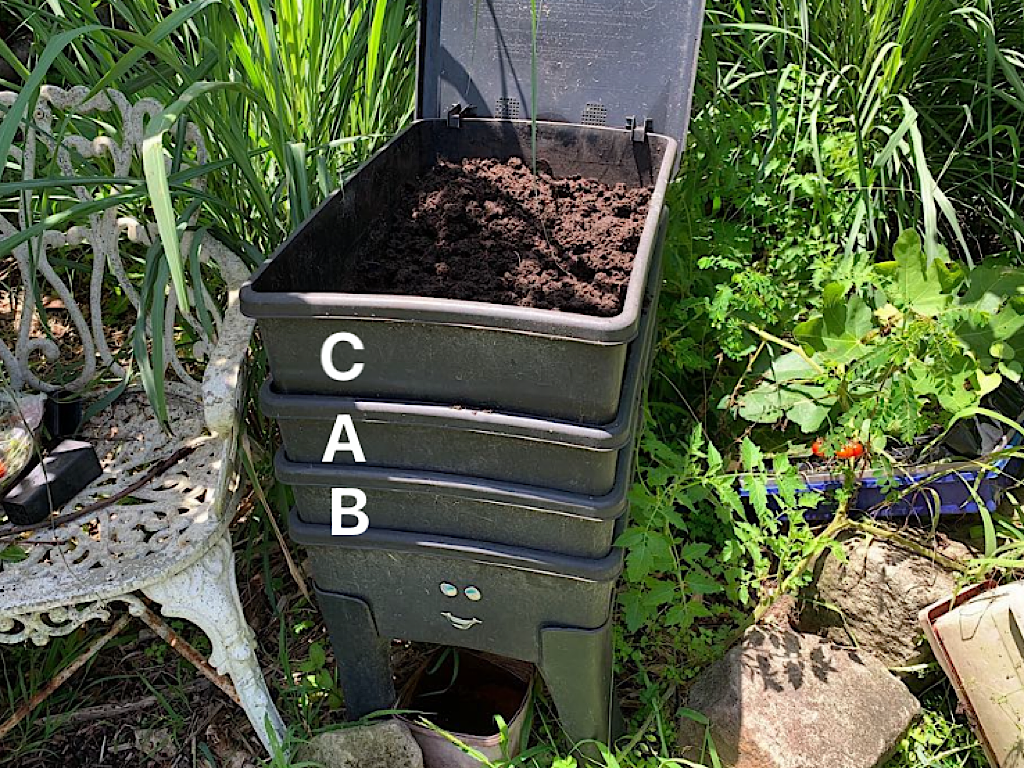
This method works well for a tiered worm farm that has a tray or two full of castings. It can be difficult to separate all of the baby worms from finished castings, but the beauty of multi level worm farms is that they do make it easier to do so. For a 3 tiered farm, once the bottom level has been processed by the worms they tend to move up to the upper levels in search of a fresh food source. Even if most of the worms have not yet migrated upwards there are times when worm castings are needed to improve soil, so the following technique can be used any time. Remove the top two levels and put them aside. Take the bottom level out of the drainage tray at the base of the worm farm. The middle level then gets placed into the drainage tray to become the new bottom layer. What was formerly the top layer now becomes the middle, and the level that was on the bottom sits on the top. The pictures below will give a visual on how to do this.
Next, leave the lid off, and the sunlight and drying effect, coupled with the better food source below, will see most of the worms migrate downwards. Every day, scrape off the top few centimetres of castings into a bucket, and in doing so take out any worms you come across and add them back into the worm farm. If you do this for a few days in a row, you will end up with an empty to tray which you can then start feeding with kitchen scraps. The castings in the bucket will probably still contain worm capsules (eggs), so if you need worm free castings to use (say as an additive to putting mix), then you will need to leave your castings for a couple of weeks to allow the baby worms to hatch, then repeat the process of scraping off the top layer until all the baby worms are left in a little pile castings that can be put back into your worm farm. The castings can either be dried out to make them easier to spread. Or you can add them to a bucket and make them into a slurry that can be watered onto the garden – particularly effective on fruit trees such as citrus.